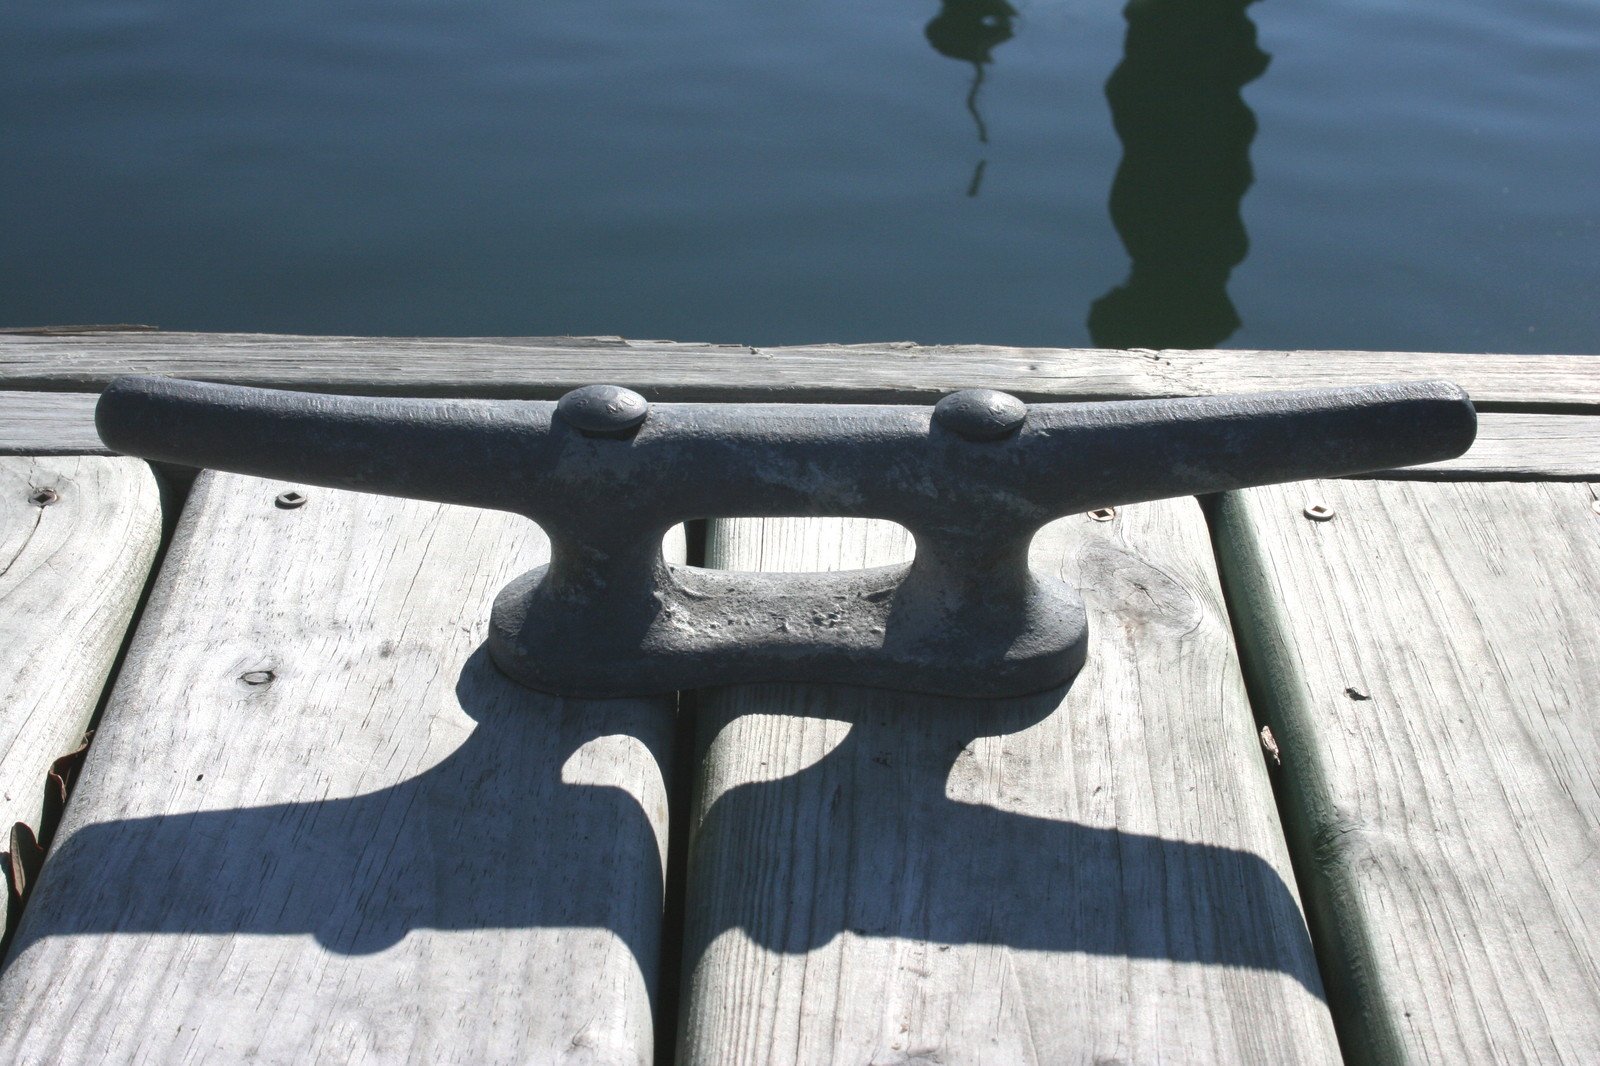
Installing dock cleats is an essential skill for boat owners and marine enthusiasts. A properly installed cleat ensures that your boat remains secure while docked, preventing accidents and damage. In this step-by-step guide, we will walk you through the installation process, covering the tools you’ll need and common mistakes to avoid for a successful installation.
Tools You’ll Need
Before you begin the installation, gather the following tools:
- Drill: For creating holes in the dock surface.
- Screwdriver: To secure the cleat with screws.
- Measuring Tape: For accurate placement of the cleats.
- Level: To ensure the cleat is installed straight.
- Marker or Pencil: For marking the drill points.
- Safety Glasses: To protect your eyes while drilling.
Step-by-Step Installation Guide
Step 1: Choose the Right Location
- Select an Accessible Spot: Find a location on the dock that is easily accessible for tying and untying lines.
- Consider Water Depth: Ensure that the cleat is positioned above the waterline to prevent it from being submerged.
Step 2: Measure and Mark
- Determine Spacing: Measure the distance between cleats based on your boat’s size and mooring lines. A good rule of thumb is to place cleats 1 to 2 feet apart.
- Mark Drill Points: Use a marker to mark the spot where you will drill the holes for the cleat’s mounting screws.
Step 3: Drill Holes
- Select the Right Bit: Choose a drill bit that matches the diameter of the screws you will be using.
- Drill Carefully: Wearing safety glasses, drill the marked holes at a perpendicular angle to the dock surface. Ensure the holes are deep enough for the screws.
Step 4: Position the Cleat
- Align the Cleat: Place the cleat over the drilled holes, ensuring that it is centered and straight.
- Use a Level: Check the cleat with a level to ensure it is properly aligned.
Step 5: Secure the Cleat
- Insert Screws: Using a screwdriver, secure the cleat by inserting screws into the drilled holes. Tighten them firmly but avoid overtightening, which can damage the cleat or dock.
- Check Stability: After securing, test the cleat for stability by gently pulling on it to ensure it’s firmly attached.
Common Mistakes to Avoid
- Not Using the Right Tools: Always use appropriate tools for the job to ensure a secure installation.
- Skipping Measurements: Accurate measurements are crucial for proper spacing and alignment. Double-check your marks before drilling.
- Overtightening Screws: Overtightening can lead to cracks in the dock surface or damage to the cleat. Tighten just enough to hold the cleat securely.
Conclusion
Proper installation of dock cleats is essential for ensuring your boat remains secure while moored. By following these step-by-step instructions and avoiding common mistakes, you can confidently install cleats that enhance your docking experience.
At dockcleat.com, we offer a wide range of high-quality dock cleats suitable for various applications. Check out our collection today and ensure your boat is securely moored!
